The Electronics - design and layout
In this project, the electronics design mainly consisted of hooking up devices to the input and output pins of the Teensy. Although I mainly use the gEDA suite for schematic capture and layout, this time I used KiCAD as an experiment. My first cut at the schematic is shown below; MIDI interface is driven through hex buffers to provide the necessary drive to meet the spec requirements, the display is hooked up with the SPI interface, pullups are added where necessary and I’ve added a couple of low sided drivers to the LEDs to level shift up to the 5V supply the LEDs in the rotary encoder can utilise for maximum brightness. |
| Initial draft schematic |
For the circuit board, I had opted to use an Adafruit Perma-Proto board. This board is intended for use to “harden” a design that’s been prototyped on a push-fit prototyping board, but I was pretty confident in my design so I decided to go straight to soldering parts onto the Perma-Proto board. However, since the layout is very like that for a prototyping board, I used Fritzing to lay out the circuit - Fritzing is a CAD package that is specifically design for working with solders breadboards of this kind.
I did find that interoperability between Fritzing and just about anything else is not very good; for example, I had no way of importing the netlist of my KiCAD schematic into Fritzing so I had to manually check the connectivity of the circuit by eyeball. Here’s the initial layout in Fritzing.
 |
| Fritzing layout |
Assembly
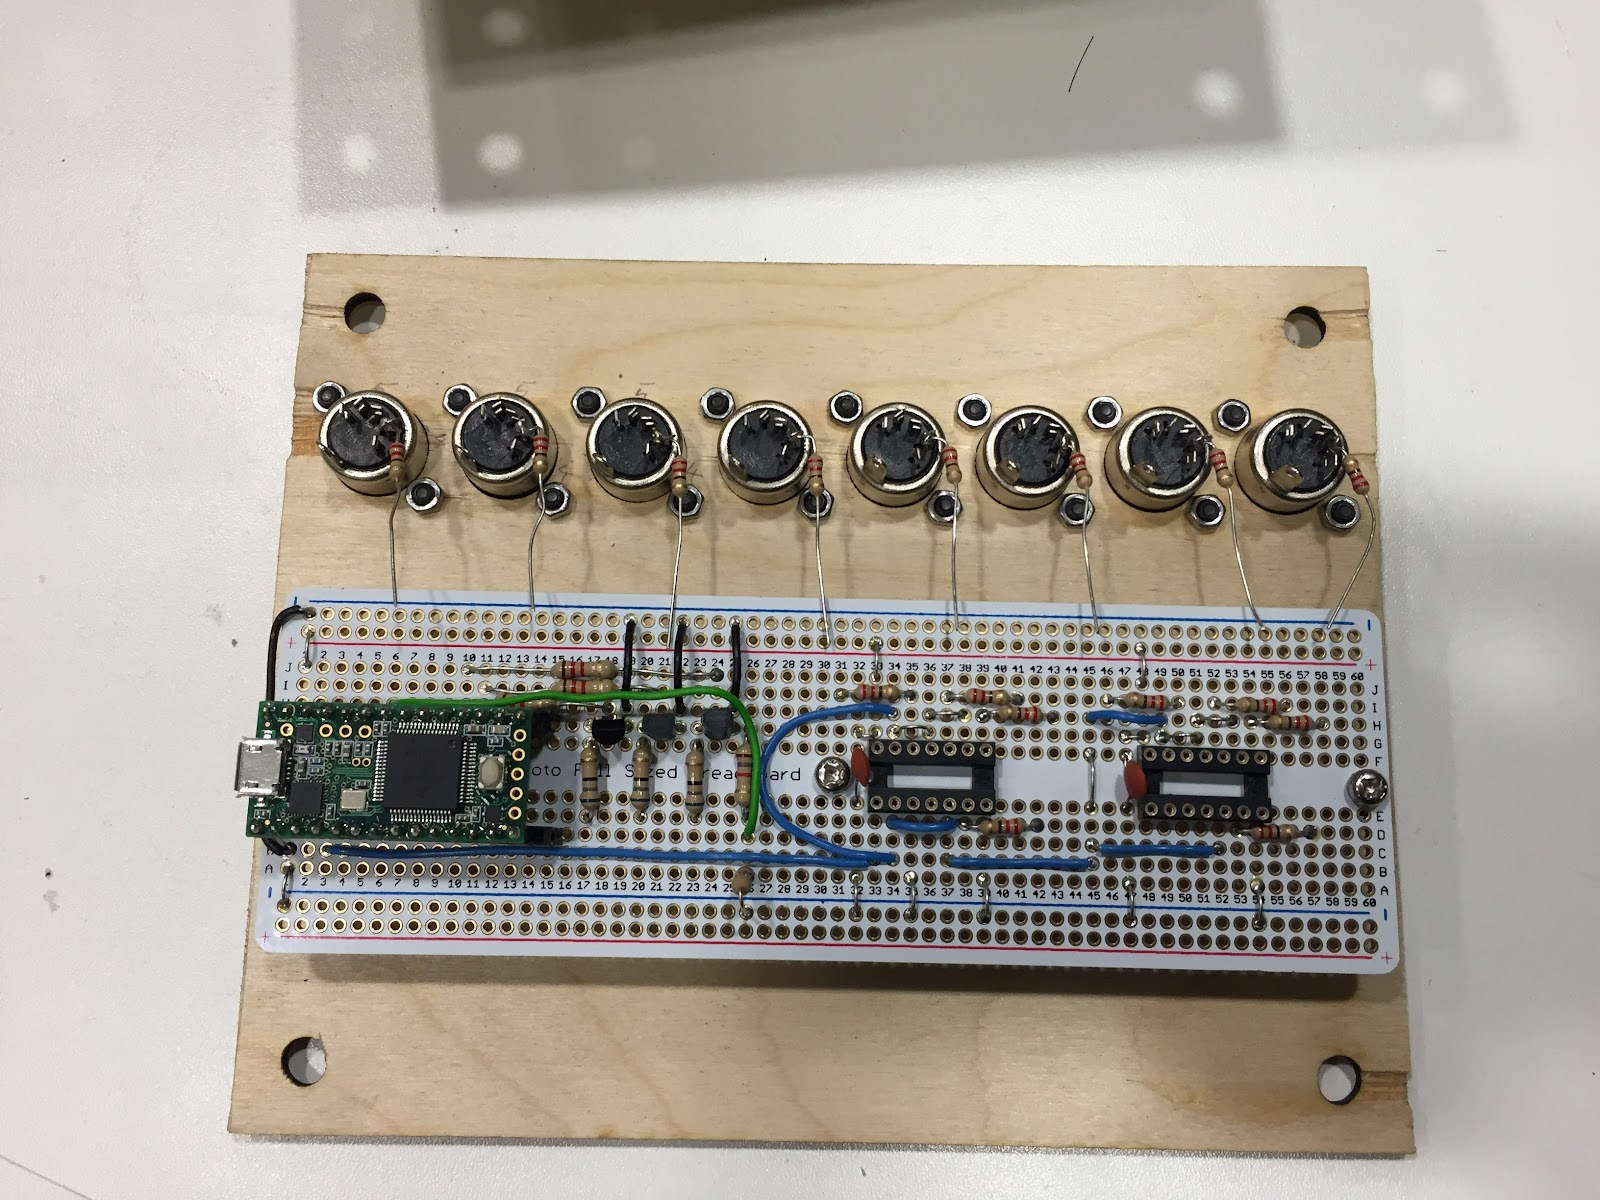
The first thing to be assembled was the wooden enclosure. Using PVA white glue, I bonded the sleeve crenellations together and inserted the T-nut holders into the slots pre-cut into the sleeve. Once that was dry, the T-nuts were put in place and the front and back face screwed in place to pull the T-nut teeth into the back of the holders. When the glue had set, I put the DIN connectors in for the MIDI out and fitted some of the buttons and switches to see how it looked.
Next was soldering up the components on the circuit board according to the layout and then wiring up all the connectors to the board. This was a reasonably time consuming step since getting the wires the right length to allow the easy assembly and disassembly of the front and back panels to the sleeve.


Coming soon: Bringing up the design